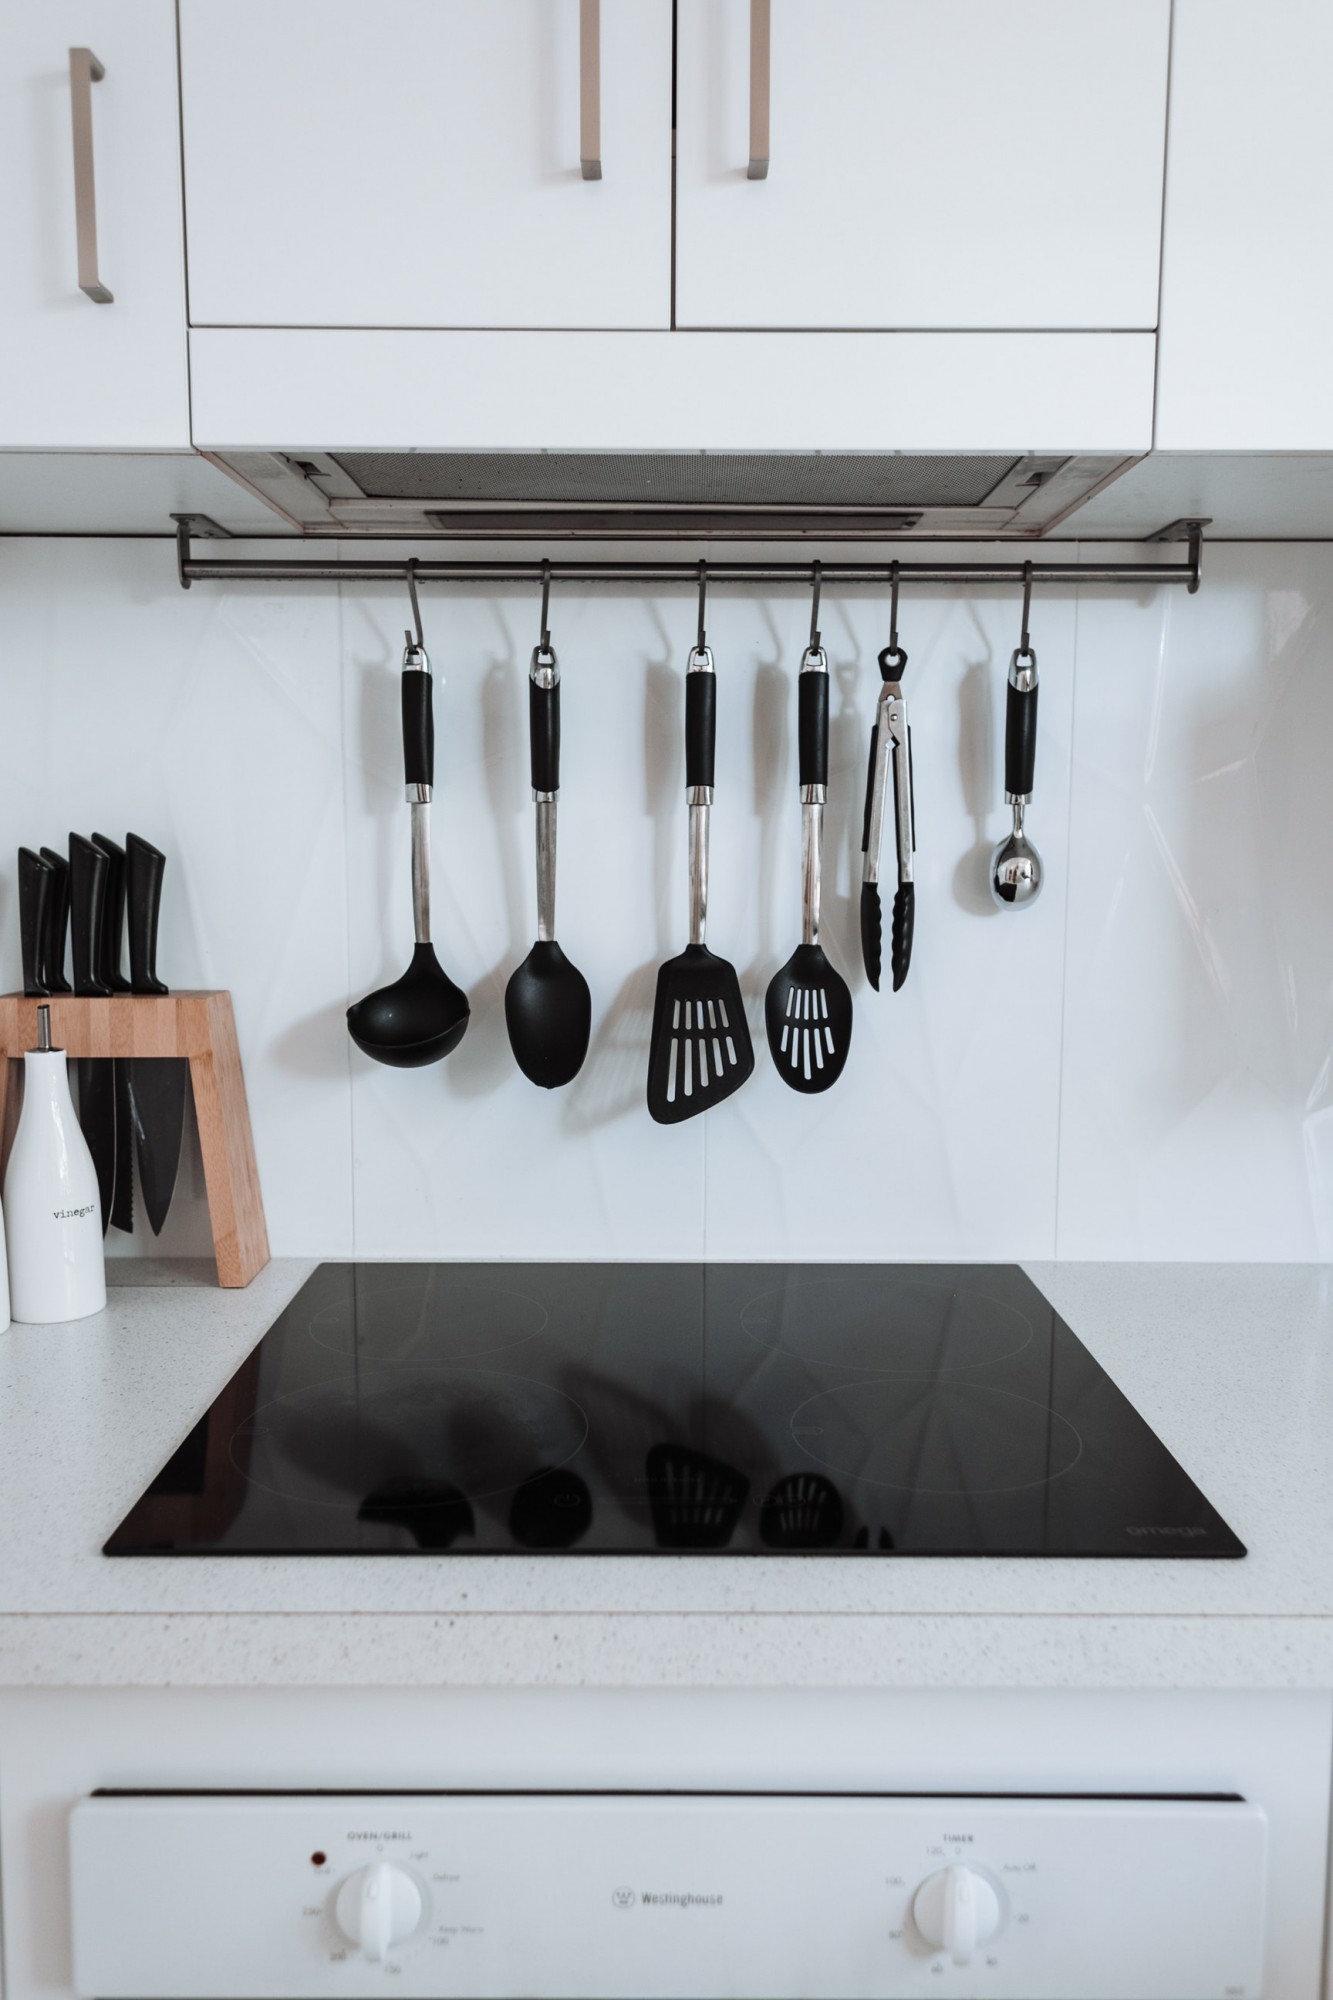
Powering yourself and the family with a good and healthy meal starts in the kitchen! But are you confident that the kitchen, where you prepare your food, is actually free from germs and bacteria? Is it free from any clutter that may slow you down and break your momentum?
Let’s take away clutter and worry and get your kitchen sparkling clean! Here are reasons why you should declutter and clean your kitchen:
- Clutter invites more clutter.
- The less clutter, the less stress.
- More space means more fun while cooking.
- A clutter-free kitchen promotes calm and order in the home.
- A germ-free kitchen means a healthier home.
Here’s our step-by-step guide for a clean and clutter-free kitchen:
Step 1: Set aside three containers, whatever you have in your homes, and label them with relocate, donate and dispose
These categories will guide you throughout the decluttering process.
Step 2: Relocate non-cooking essentials
Consider relocating collections of glasses, mugs, tumblers or glasses that are memorabilia or souvenirs from friends and family. They’re normally placed on display and take up counter or shelf space. Create a more practical counter and shelf space by using your collection as a memorable display and/or keep your favorites and consider donating the others.
Got any cookbooks you haven’t used in the past six months? Declutter your unused cookbooks and donate them to friends who may need them. Reduce any potential clutter by looking for future recipes online!
Is your refrigerator surface lost with all the magnets and post-its on it? Keep the emergency contact numbers in sight and the items like shopping lists that move weekly or monthly. Keep the magnets from vacations or special occasions that make you smile daily.
Step 3: Group similar items together
Find an item without breaking a sweat or getting stressed! Here’s a suggestion on how to group things together:
- Takeout items
- Sauce sachets
- Disposable utensils
- Canned goods
- Soup
- Meats
- Fish
- Others
- Spices
- Cookware
- Containers
- Silverware and plates
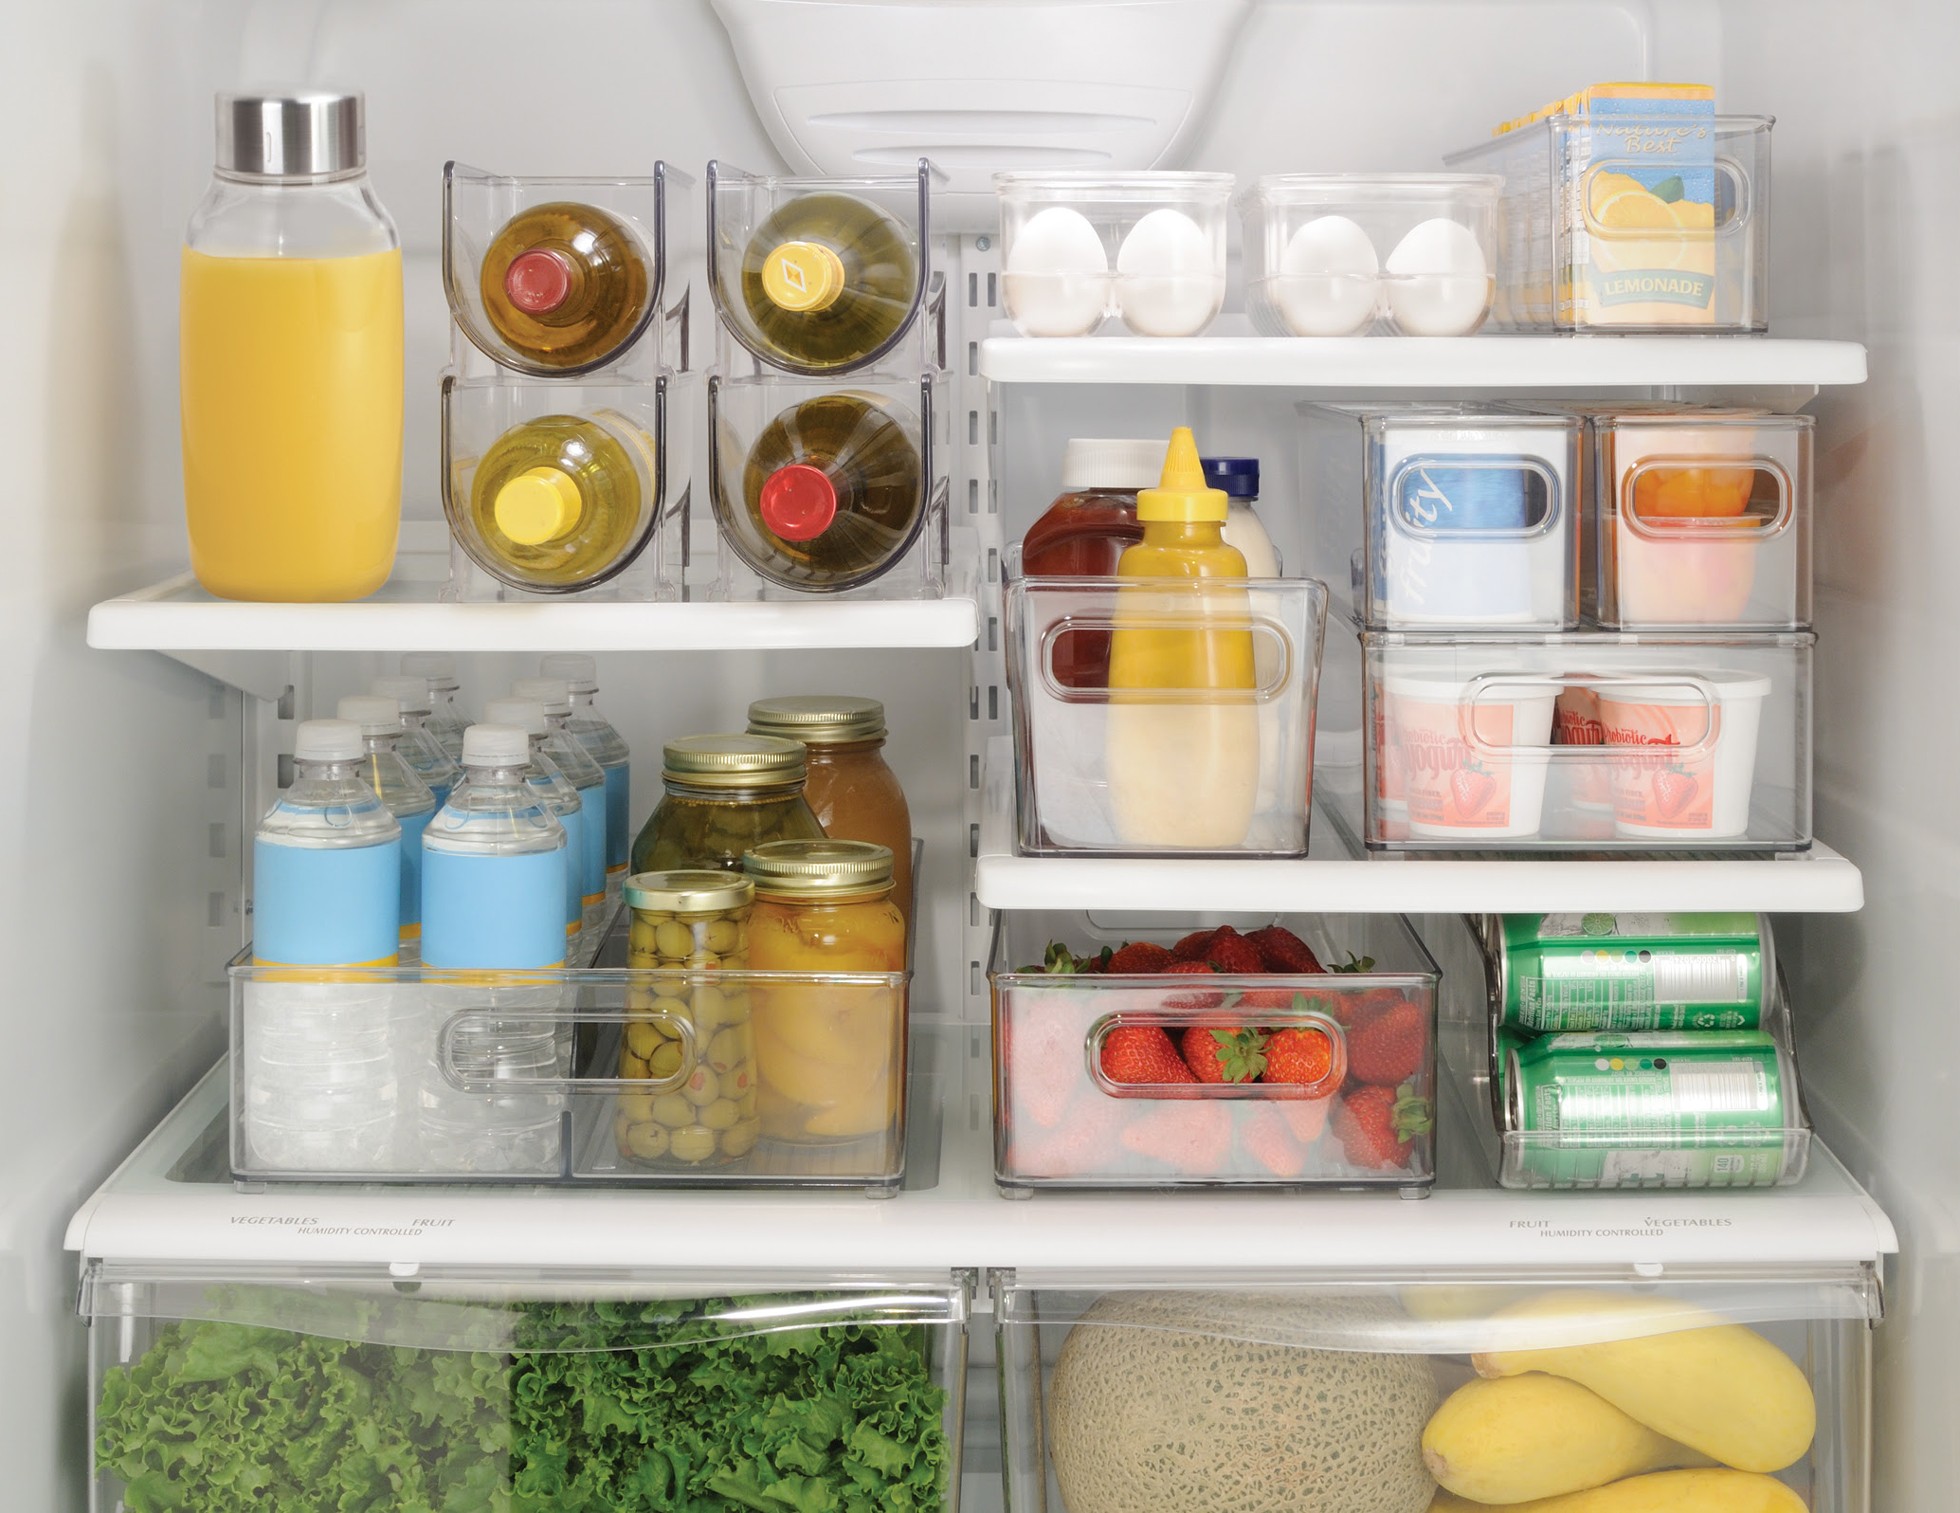
- Refrigerator
- Dairy
- Raw meat and frozen items
- Leftovers
- Vegetables
Bulky items such as cookware can go below in the most spacious cupboard or cabinet. Keep smaller items in more accessible shelves for convenience.

Step 4: Excessive duplicates, spoiled, and unused items must go
Make it a habit to check the spices and canned goods that you haven’t touched. Expired spices and canned goods and spoiled food need to be disposed to make room for you to cook dishes with the food that your family loves to eat.
Love your knives set? Check whether any of them have rusted, need repair or need to be replaced or disposed of. Keep the knives that you often reach for and think through whether you can create more space for other kitchen utensils that you use more often and to make them easier to reach.
Refrigerator items can be overwhelming. Remember the “first in first out” rule to ensure nothing goes to waste and review the fresh produce that might need to be used first.
Here’s how to label your food containers for leftovers to come up with a system:
- Place masking tape on top of the food container
- Write the date you stored your dish on the tape
- Older dishes and items go in front or on top so they are consumed first

Step 5: Store containers with their lids on
It may seem like a counter tip to space saving but here’s why you should consider storing your reusable containers with their lids on: easier cleanup and return to their proper place, less time wasted in looking for the right lid and find out which containers you don’t use at all!
If you haven’t used a container in the past six months then you can give them to a friend or family member or use them for when you donate food to those in need.
Keeping the right quantity of kitchen items just right for your home will depend on the size of your family and your daily movements around and outside the home - doing these steps will make you more aware of this and create a more organized and clutter-free kitchen flow for you and your family members.
Step 6: Cleaning time!
After all the decluttering and rearranging, you will notice corners and nooks that are dirty with spills and dust.
Take out your Kurin Kitchen, a clean microfiber cloth, and give these surfaces a wipe. The first wipe-through is to clean when you add another two to three sprays it will ensure that these surfaces are sanitized and disinfected.
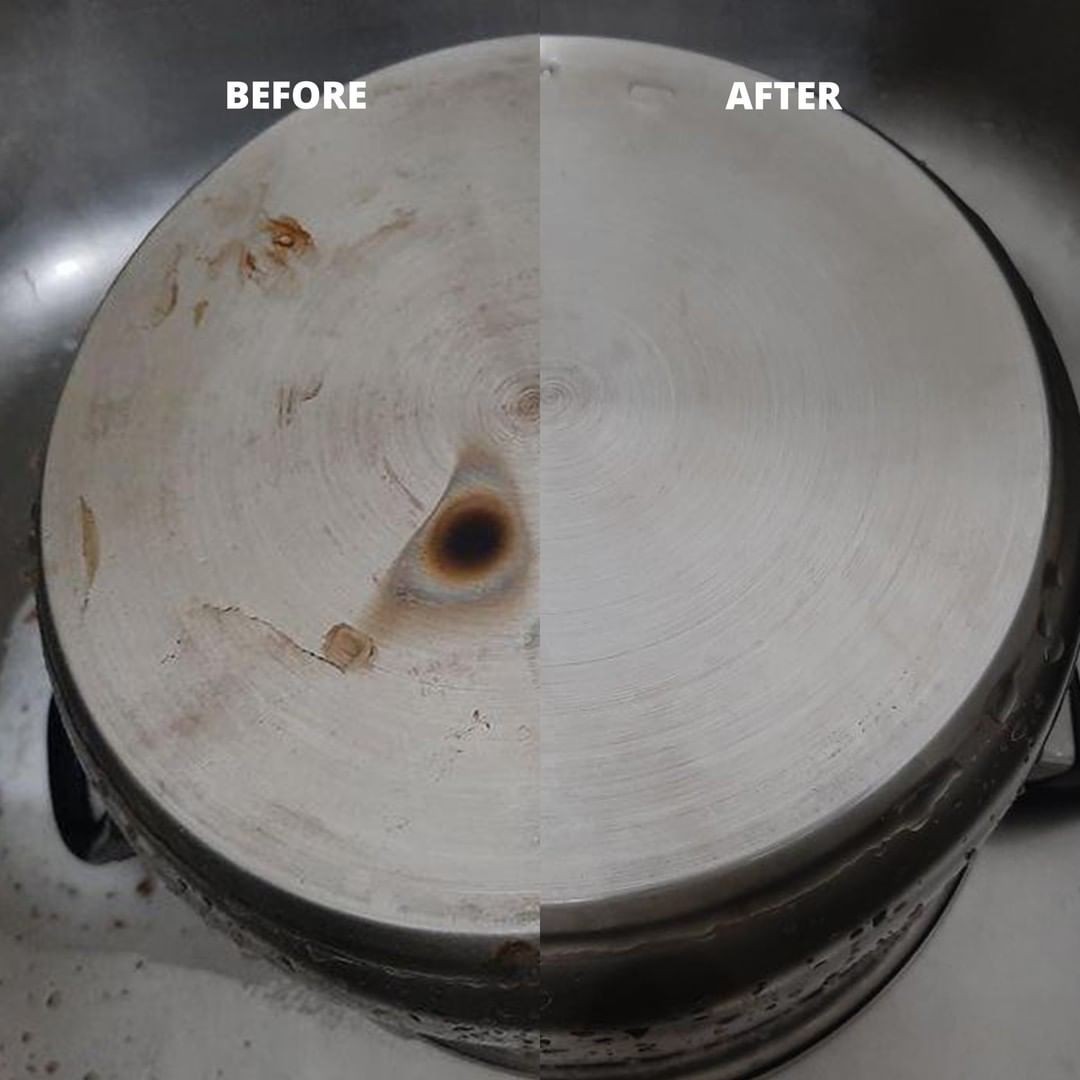
You may be fed up from all your unsuccessful attempts at removing grime at the bottom of your pots and pans, and inside the oven. Seeing them at cooking time can even dampen your mood. Here’s how Kurin Kitchen can get your cookware sparkling and clean again:
- Spray
- Wait for at least 30 seconds
- Scrub with an adhesive sponge or use a brush
Refer to our manual to show you the do’s and don’ts of Kurin. Here’s a before and after photo to show how @kotsharatinidor got their pans looking nice and shiny:

Developing a habit for good
Once items are clean and dry, immediately put them back where they belong. Each item deserves their own clean home.
Think first before buying new kitchen items to save not only money, but also space. Give yourself a week to think and see if you really need it. You don’t want to have an item that isn’t used.
Have Kurin Kitchen even as you prepare your hearty home meals so that at every step, you know each space and item are as clean as you need them to be. When you’re done cooking for the day, be sure to disinfect the following areas with Kurin:
- Countertops
- Range stove (including the oven if you used it)
- Sink
- Floor
- Faucets
When you develop this decluttering habit, you’ll enjoy cooking and cleaning your kitchen with a more relaxed, simplified and zen mind to benefit not just yourself but your entire household. #DoMoreThanClean


